# 前言
先不用實際去後端寫 API Endpoint,直接用 Dummy data 來熟悉整套 Workflow,以列出 Dummy data 產品列表為例,這樣可以更快熟悉整套開發流程,並且可以先把前端的畫面先做出來,等到後端準備好後再直接接上 API Endpoint
# 後端 setup
- 建立 Django 專案
- 建立、啟用虛擬環境
- 下載並輸出此專案的套件清單(corsheaders、JWT、drf...)
django-admin startproject backend

pip install ...

pip freeze > requirements.txt
# 前端 setup
- 建立 React + Vite + TypeScript 專案
- 下載所有所需額外套件(@tanstack/react-query、axios...)
npm create vite@latest my-app --template react-ts

cd my-app

npm install
# 整合 tailwindCSS v4 及 shadcn/ui
導入 tailwindCSS v4 官方教學,現在步驟變更少,但跟 shadcn/ui 整合的方式跟以往不同了:
跑完 tailwindCSS v4 流程並確定沒問題後,到 shadcn/ui 官方教學 這一步一步做
到 tsconfig.json 加入 compilerOptions
// tsconfig.json
{
 "files": [],
 "references": [{ "path": "./tsconfig.app.json" }, { "path": "./tsconfig.node.json" }],
 "compilerOptions": {
  "baseUrl": ".",
  "paths": {
   "@/*": ["./src/*"]
  }
 }
}
然後執行
npm add -D @types/node再到 vite.config.ts 加入相關 resolve 設定
...
import path from "path"

// https://vite.dev/config/
export default defineConfig({
 plugins: [react(), tailwindcss()],
 resolve: {
  alias: {
  "@": path.resolve(__dirname, "./src"),
  },
 },
});
注意這邊若直接複製官方教學的 pnpm dlx shadcn@canary init 會發現報不認得 dlx 指定的錯誤,所以這邊改成執行
npx shadcn@canary init就能看到成功訊息並可以開始選擇 base color 了
✔ Preflight checks.
✔ Verifying framework. Found Vite.
✔ Validating Tailwind CSS config. Found v4.
✔ Validating import alias.
? Which color would you like to use as the base color? › - Use arrow-keys. Return to submit.
❯   Neutral
    Gray
    Zinc
    Stone
    Slate
接下來直接測試看是否能直接調用元件來使用,看看 Navbar 能否正常顯示,執行:
npx shadcn@latest add navigation-menu此時就能看到 components 資料夾底下多了 ui/navigation-menu.tsx 檔案,
# 設定 React Query Client
設定 React Query Provider,這樣在任何組件內就都能使用 useQuery
// src/App.tsx
import { QueryClient, QueryClientProvider } from "@tanstack/react-query";

const queryClient = new QueryClient();

ReactDOM.createRoot(document.getElementById("root")!).render(
 <React.StrictMode>
  <QueryClientProvider client={queryClient}>
   <App />
  </QueryClientProvider>
 </React.StrictMode>
);
# 統一管理 API 請求,建立 API instance
- 設定 baseURL,避免每次請求都寫完整 API 網址
- 設定超時時間 (timeout)
- 統一 headers
- 處理 interceptors 來攔截請求 & 回應(例如自動加上 token)
// src/api/axiosInstance.ts
import axios from "axios";

const api = axios.create({
 baseURL: "https://dummyjson.com", // 設定 API 基礎 URL
 timeout: 5000, // 5 秒超時
 headers: {
  "Content-Type": "application/json",
 },
});

// 請求攔截器(可選) → 這裡可以自動加上 token
api.interceptors.request.use(
 (config) => {
  // 假設有 token,則自動加到 headers
  const token = localStorage.getItem("token");
  if (token) {
   config.headers.Authorization = `Bearer ${token}`;
  }
  return config;
 },
 (error) => {
  return Promise.reject(error);
 }
);

// 回應攔截器(可選) → 統一處理錯誤
api.interceptors.response.use(
 (response) => response,
 (error) => {
  console.error("API 發生錯誤:", error);
  return Promise.reject(error);
 }
);

export default api;
有了 baseURL,往後就能像 getProducts() 這樣使用 api 來請求 https://dummyjson.com/products ,不用每次都手動寫 baseURL!
// import axios from "axios";
import api from "./axiosInstance";
import type { ProductListResponse } from "../types/products";

export const getProducts = async (): Promise<ProductListResponse> => {
 const { data } = await api.get("/products"); // 這裡不需要寫完整 URL
 return data;
};
``;
# 定義 types/ 來管理 TypeScript 型別
這樣 TypeScript 會確保 API 回傳的數據符合預期類型,不符合也能在編譯時期立即發現錯誤,在上方 getProducts() 中,就能確保回傳的數據是 ProductListResponse 類型
// src/types/products.ts
export interface Product {
 id: number;
 title: string;
 description: string;
 price: number;
 discountPercentage: number;
 rating: number;
 stock: number;
 brand: string;
 category: string;
 thumbnail: string;
 images: string[];
}

export interface ProductListResponse {
 products: Product[];
}
# 建立 hooks 來處理 API 請求
此專案使用 @tanstack/react-query 來處理 API 請求,與傳統這種 reducers 的方式不同:
- 需要手動 dispatch 各種狀態 (FETCH_START, FETCH_SUCCESS, FETCH_ERROR)
- 沒有 cache 機制,每次載入頁面都要重新請求
- 沒有背景同步,數據可能會過時
# 傳統 reducer 寫法
// 列出所有產品
export const productListReducer = (state = { products: [] }, action) => {
 switch (action.type) {
  case PRODUCT_LIST_REQUEST: // 請求中
   return { loading: true, products: [] };
  case PRODUCT_LIST_SUCCESS: // 成功
   return { loading: false, products: action.payload.products, page: action.payload.page, pages: action.payload.pages }; // 請求到資料,loading 結束
  case PRODUCT_LIST_FAIL: // 錯誤
   return { loading: false, error: action.payload };
  default:
   return state;
 }
};
# 使用 useQuery
useQuery 會自動處理 loading、error、data 等狀態,並且有 cache 功能,避免重複請求:
- 3 行程式碼就完成 useReducer 的所有功能
- 內建 isLoading, data, error
- 內建快 cache,5 分鐘內不重複請求
// src/hooks/useProducts.ts
import { useQuery } from "@tanstack/react-query";
import { getProducts } from "../api/products";

export const useProducts = () => {
 return useQuery({
  queryKey: ["products"],
  queryFn: getProducts,
  staleTime: 1000 * 60 * 5, // 5 分鐘內不重新請求
 });
};
# 在 React 頁面元件中使用
// src/pages/HomePage.tsx
import { useProducts } from "../hooks/useProducts";
import { Product } from "../types/products";
const HomePage = () => {
const { data, isLoading, isError, error } = useProducts();
if (isLoading) return <p>載入中...</p>;
if (isError) return <p>發生錯誤:{error?.message}</p>;
return (
<div className='p-5'>
<h1 className='text-2xl font-bold mb-4'>產品列表</h1>
<div className='grid grid-cols-3 gap-4'>
{data?.products.map((product: Product) => (
<div key={product.id} className='border p-4 rounded shadow'>
<img src={product.thumbnail} alt={product.title} className='w-full h-40 object-cover rounded' />
<h2 className='text-lg font-semibold mt-2'>{product.title}</h2>
<p className='text-sm text-gray-600'>{product.description}</p>
<p className='text-lg font-bold mt-2'>${product.price}</p>
</div>
))}
</div>
</div>
);
};
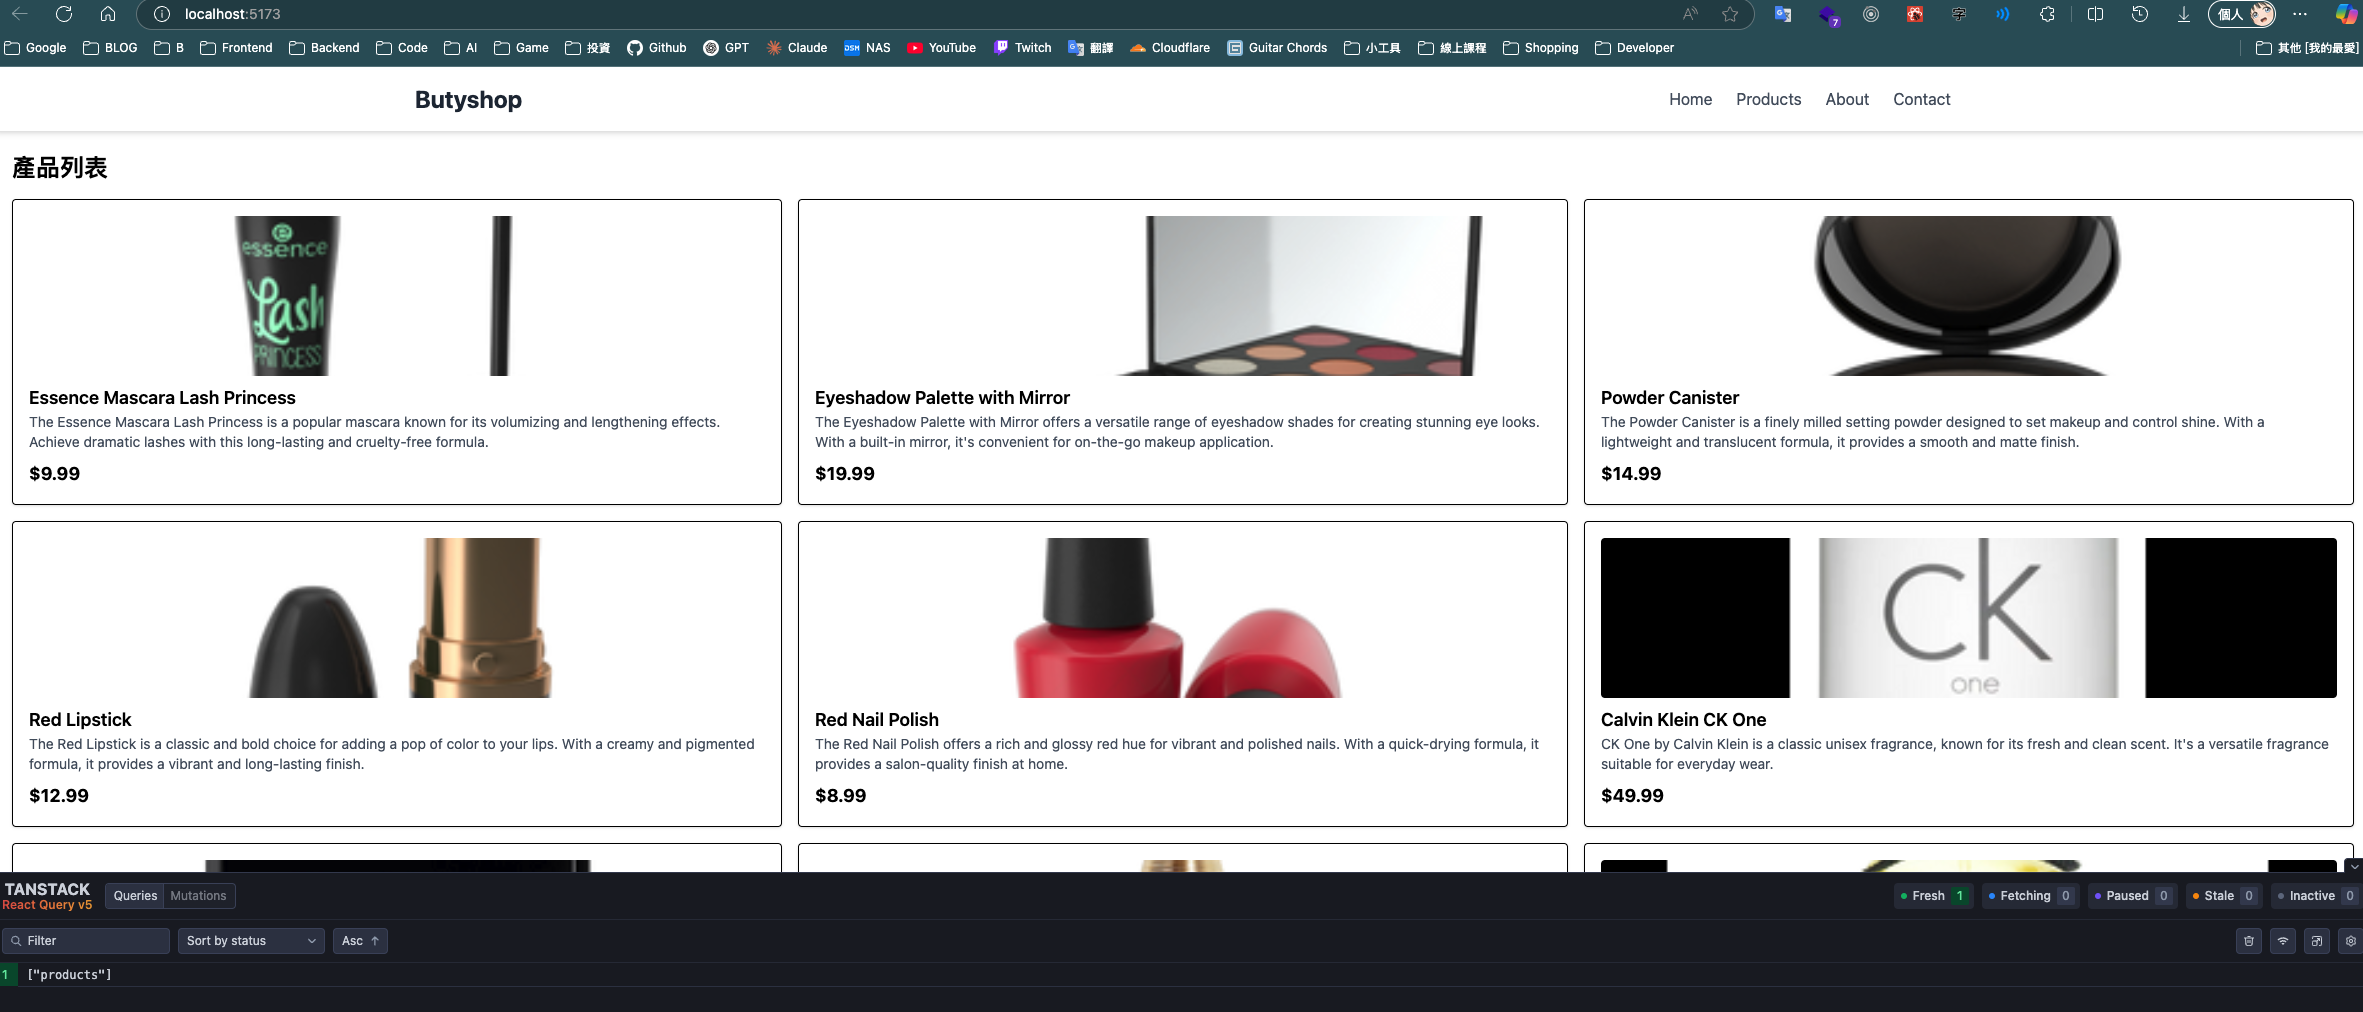
export default HomePage;# 成功畫面